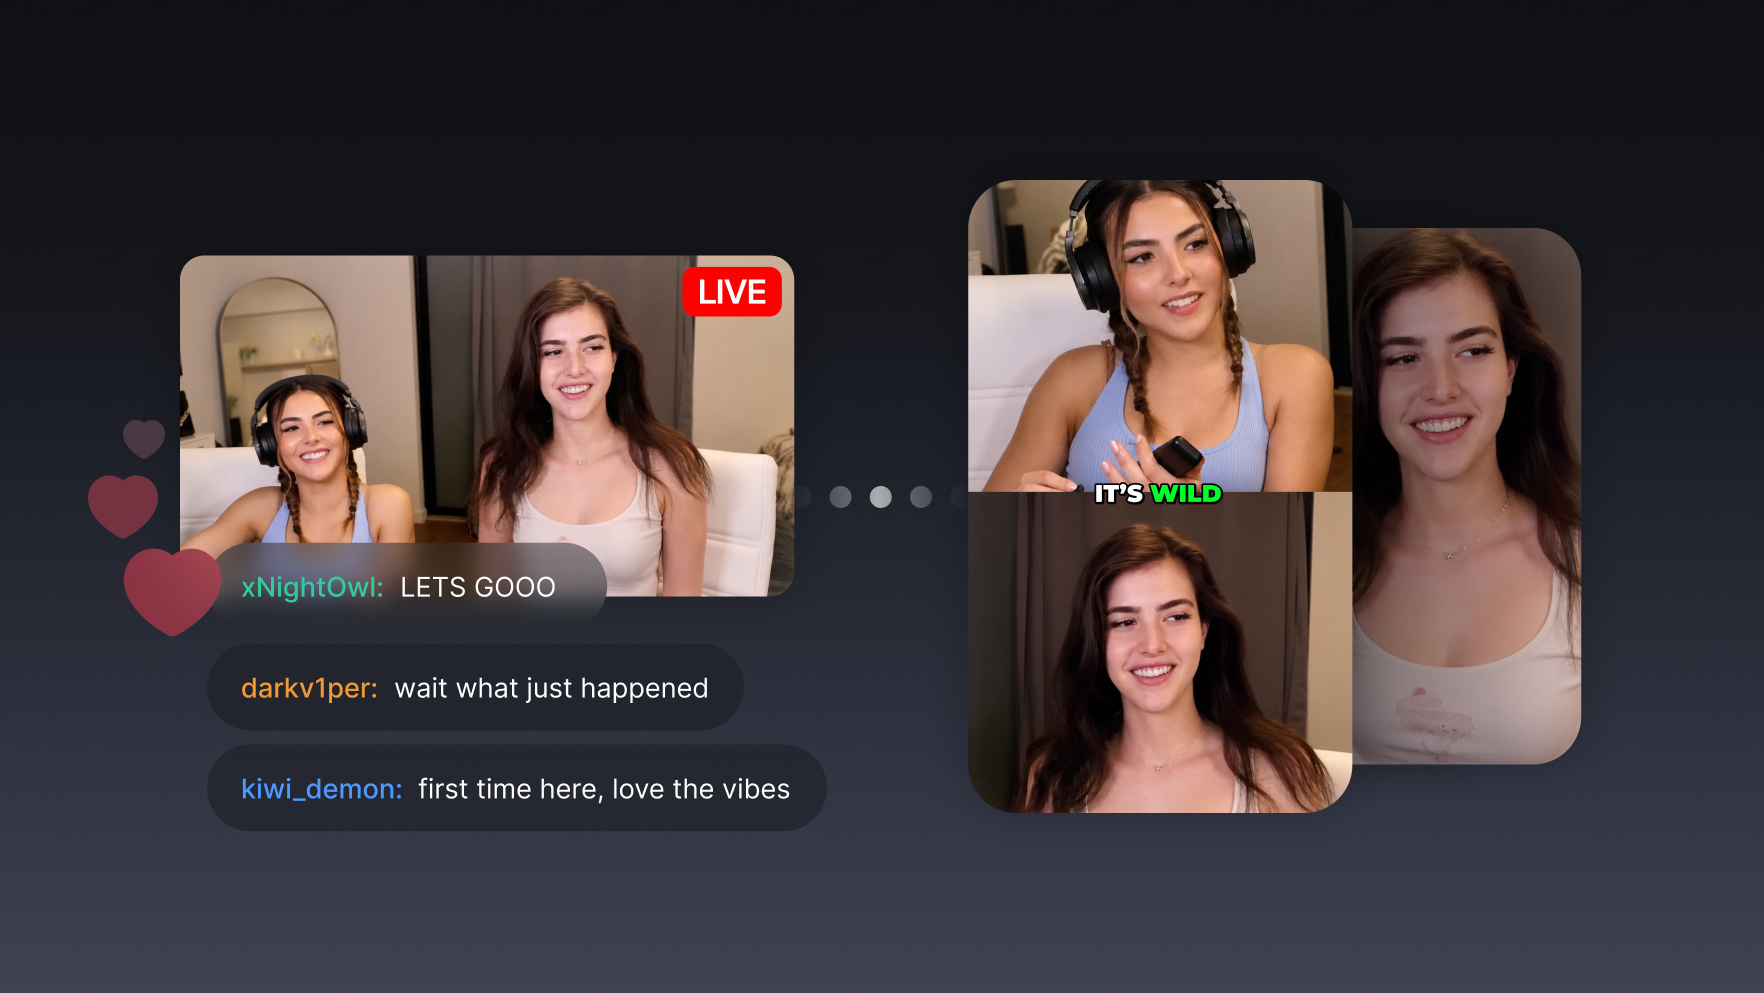
Add captions to multiple videos in bulk, straight from your computer
Adding captions is the single most important thing you can do for a video's performance, and adding them one by one in a browser is exactly the kind of work that doesn't scale. Here's how you can simply point your AI agent at a folder of videos on your computer, and it captions the whole batch using your OpusClip brand template. And when it's done it just drops the finished files back onto your machine.

Run it with your agent
- Open Customize in your client and select “Connectors”
- Find OpusClip and click "Add"
- Sign in with your OpusClip account in the OAuth window
- Run the command below in your terminal
claude mcp add --transport http opusclip https://mcp.opus.pro/mcp - Start Claude Code and run
/mcp - Approve the OAuth sign-in with your OpusClip account
claude mcp add --transport http opusclip https://mcp.opus.pro/mcp- Open the ChatGPT desktop app and select "Plugins" in the sidebar
- Search for OpusClip, then click the + icon
- Click "Connect" and sign in with your OpusClip account
- Open ChatGPT and select "Plugins" in the sidebar
- Search for OpusClip, then click the + icon
- Click "Connect" and sign in with your OpusClip account
- In Cursor, open Customize in the left panel
- Search for OpusClip and click Add
- Sign in with your OpusClip account
- Open Extensions ⇧⌘X → search @mcp opusclip
- Pick the opus-pro entry
- Install → OAuth sign-in
I. Getting set up
First things first, you need to install the OpusClip MCP into your AI tool of choice: that could be Claude, Claude Code, or ChatGPT. Setup isn't covered here, but it's extremely straightforward: open anew tab, go to OpusClip's MCP page, and follow the instructions there. It takes less than a minute.Once that's installed, put all the raw video files you want captioned into a single folder. In this example, a folder of 34 raw videos that don't have captions on them yet.
II. Giving your AI assistant access to your video folder
The next thing you'll need to do, is give your AI access to the folder that has all of your raw videos inside it. Make sure to configure this setting according to the AI client you're using, when you initiate your new chat session.
III. Adding captions to your videos in bulk
Once your assistant has access to the folder, give it the following prompt:
In our current folder, I have a number of different raw video files that I want to add captions to. Can you use the OpusClip MCP to add captions to all of those, specifically using myOpusClip brand template “OpusClip dark captions”.
You can use polling as needed, but please check the progress every 2 minutes as your polling window, just to expedite things.
When OpusClip is all finished, please download all of the captioned videos back into this folder, into a subfolder you will create titled “captioned-outputs”
Tip: You don't have to use a brand template for this. You can also just describe the caption style you want. A brand template is worth using if you have a logo or image overlay you want applied in addition to the captions.That last instruction (where the finished videos land) is yours to personalize. You could even connect a different MCP, like Google Drive's MCP, to have the outputs uploaded there automatically instead of back onto your machine.
IV. Watching it run
Once you kick this off, here's roughly what happens:
1. Submitting projects: Your AI looks through the folder, checks in on your OpusClip account to confirm the brand template you asked for, then gets ready to send the videos over. If it asks for permission to use the OpusClip MCP (common on your first run), just hit allow.
2. A test run first: A good AI will often propose captioning one video first as a test, to confirm everything works, before committing to the rest of the batch. Worth letting it do this, especially your first time. It'll wait for that test to come back successful before proceeding with the remaining videos.
3. Uploading in the background: Once the test passes, your AI works independently to upload the rest into OpusClip to be captioned. This takes a bit since it's uploading actual video files, so feel free to step away and work on something else in the meantime.
4. Batching around the concurrency limit: OpusClip caps you at 10 concurrent projects at a time, so your AI will submit your videos in chunks of 10, waiting for each batch to finish before starting the next.
5. Finished and downloaded: Once everything's captioned, your AI downloads the finished videos back into the “captioned-outputs” subfolder it created. You can double check by refreshing your OpusClip account directly. The captioned projects will be sitting right there too.
V. Where to go from here
From here, the possibilities are pretty exciting. You could send these videos back over to OpusClip to schedule them out to your social accounts. Or you could have your AI upload them into a Google Drive folder you need to share with a client. That's all up to you.
But we just captioned dozens of videos with basically a single prompt and a lot of help from Claude and OpusClip, and skipped every bit of the manual captioning headache. Go try it out for yourself.