No items found.
Talking-Head Videos: The Complete Guide (2026)
July 21, 2026

The talking-head video — one person, on camera, speaking directly to the audience — is the most durable format in short-form content. It's how creators build trust, how founders build a personal brand, and how experts turn what they know into an audience. It's also the format most people quietly give up on, because filming one is easy and everything around it — the setup, the delivery, and especially the editing — is where the hours go.
This is the complete guide. We'll cover what a talking-head video is and why the format works, then walk through the whole production: the gear you actually need, how to set up your shot, lighting, audio, scripting and hooks, how to record, the full editing workflow, how to publish for each platform, how to turn one recording into a week of content, and the mistakes that quietly kill otherwise good videos. We build an AI producer for exactly this format, so we'll be specific about where the work is and how to get through it faster.
What is a talking-head video?
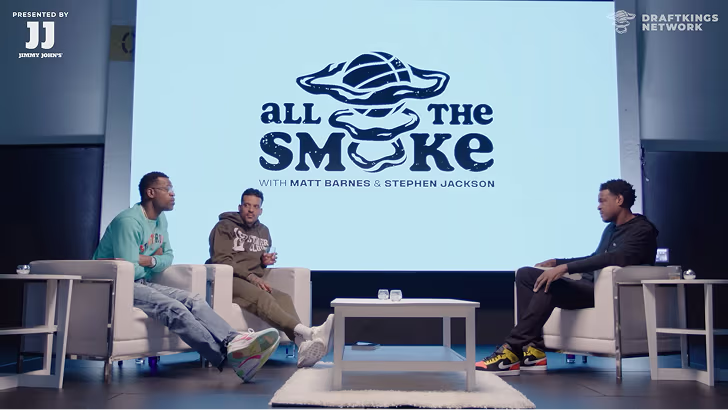
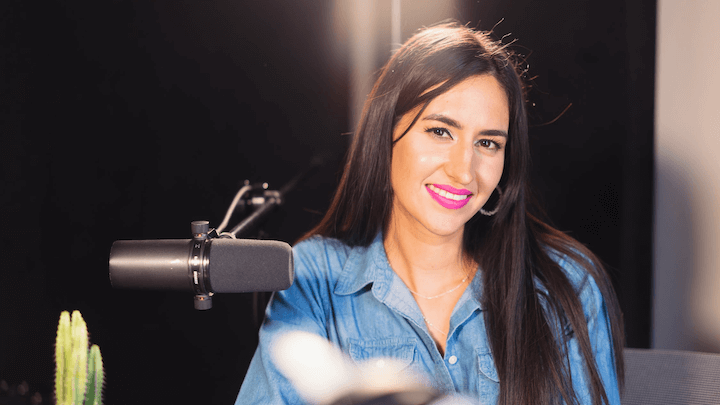
A talking-head video is any video built around a single person speaking to camera, usually framed from the chest up and looking down the lens. The format runs everywhere: TikTok, Reels, and YouTube Shorts; LinkedIn video; long-form YouTube; course lessons; sales and onboarding videos; podcast clips. What they all share is the thing that makes them powerful and the thing that makes them exposing at the same time — your face and your voice carry the message. There's no host to hide behind and no B-roll doing the talking, which is exactly why a good talking-head video builds trust faster than almost any other format online.
Why talking-head videos work
Before the how, it's worth being clear on the why, because it shapes every decision downstream.
- Trust. People follow people. Seeing a real person say something is more convincing than any graphic, stock clip, or voiceover-over-footage. Talking-head is the highest-trust format because it's the most human one.
- Personal brand. For founders and experts, the talking-head clip is the brand asset — it's you, on the record, being useful. Do it consistently and you become the person people associate with the topic.
- Low cost to produce. A phone, a window, and a clip-on mic get you most of the way. No set, no crew, no location.
- Repeatable. Once you can shoot and finish one quickly, you can post daily — and consistency, not any single video, is what compounds on every platform.
- Format-flexible. One talking-head recording can become a vertical short, a LinkedIn square, a YouTube segment, and a set of quote clips. Few formats repurpose as cleanly.
The gear you actually need
The good news: the barrier to entry is almost nothing. The better news: three small upgrades separate "filmed on a phone" from "looks professional."
- Camera. The phone in your pocket is more than enough. Shoot with the rear camera (it's sharper than the front-facing one), in the highest resolution your platform supports, and clean the lens first — a smudge is the most common avoidable quality killer.
- Microphone. Audio matters more than resolution. A cheap clip-on lav or a pair of wired earbuds with a mic beats your phone's built-in mic in almost any room. If you upgrade one thing, upgrade this.
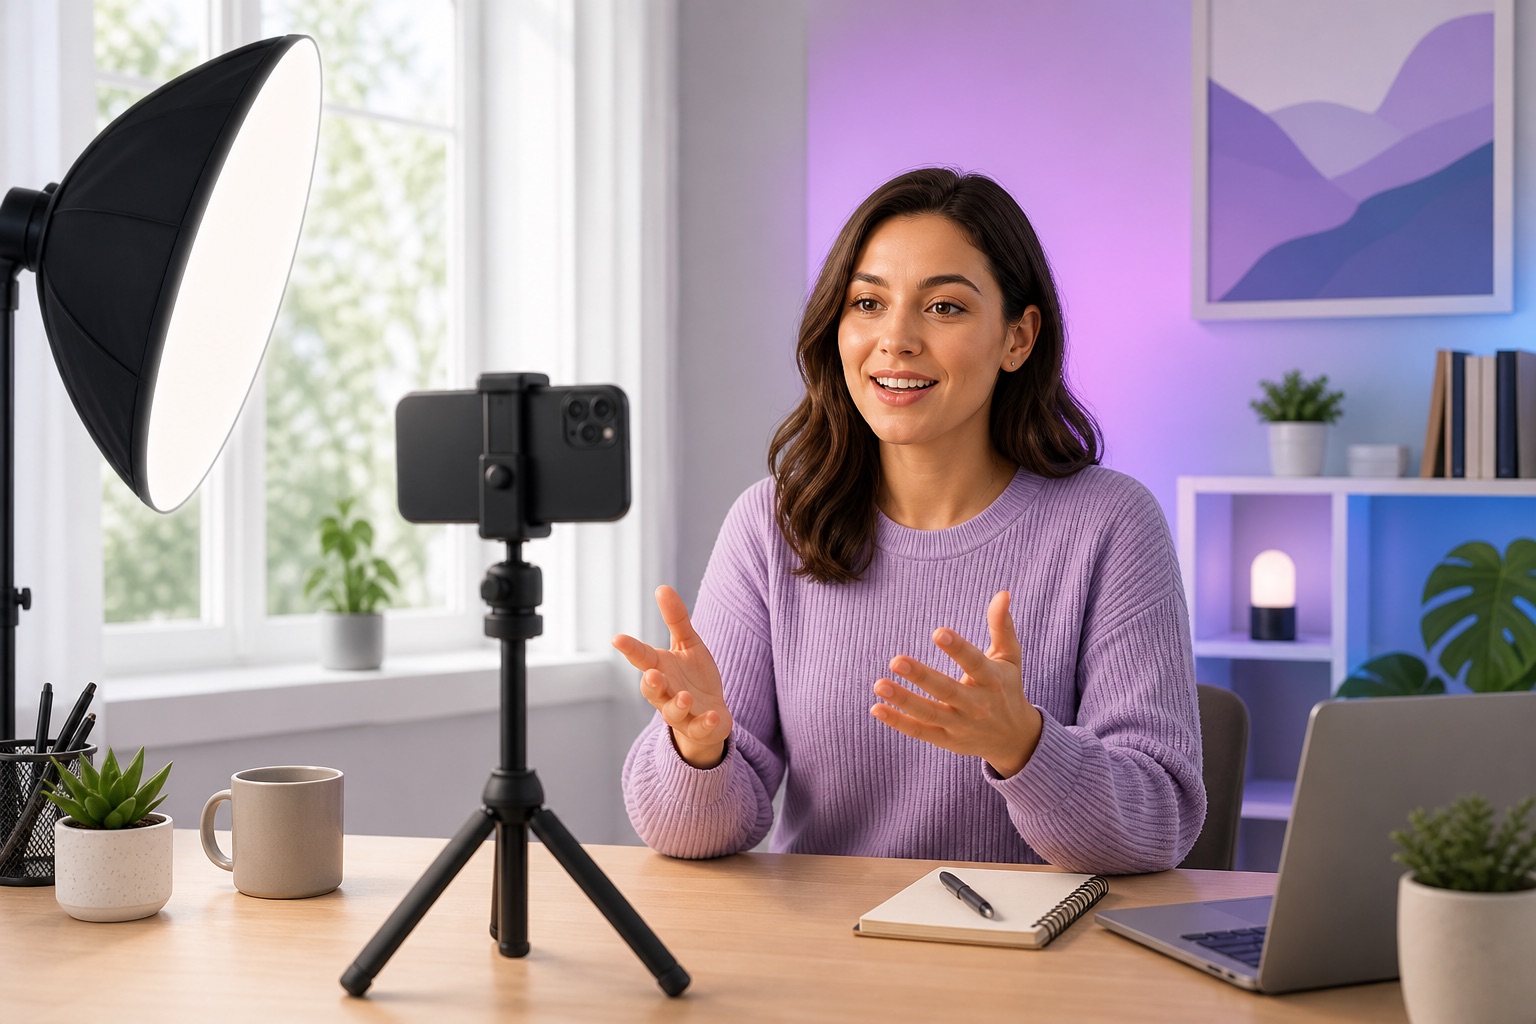
- Light. A window during the day is a free, excellent key light. A $30 ring light or softbox makes you independent of the weather and the time of day.
- Something to hold the camera steady. A small tripod or even a stack of books. A locked-off, stable frame instantly reads as more intentional than a handheld one.
How to set up your shot
Framing is where amateur and professional diverge before a single word is spoken.
- Shoot vertical (9:16) for short-form. Frame from the chest up, with your eyes about a third of the way down the screen and a little headroom above.
- Put the lens at eye level. Not below (unflattering) and not far above (you'll look small). Raise the phone to your eyes and look into the lens, not at your own face on the screen.
- Mind the background. A little depth — a room behind you rather than a flat wall two inches away — looks more premium. Keep it tidy and free of distractions or anything you don't want scrutinized.
- Leave editing room. Don't crop so tight that captions and on-screen text have nowhere to sit. Give the lower third some space.
Lighting a talking-head video
The single biggest upgrade to any talking-head video is putting the light in front of your face rather than behind it. Face a window or a soft light source; if the brightest thing in the room is behind you, the camera will expose for it and turn you into a silhouette. Avoid overhead-only lighting, which casts shadows under the eyes. Soft and frontal beats bright and harsh every time. If you wear glasses, angle the light slightly off-axis to kill the reflection.
Getting clean audio
Viewers forgive a slightly soft image; they will not forgive bad audio. Record somewhere with soft surfaces — carpet, curtains, a couch — because bare rooms echo. Get the mic close to your mouth (a clip-on at chest height is ideal). Turn off fans, notifications, and anything that hums. Do a ten-second test recording and actually listen back before you commit to a full take; it's the cheapest insurance in video.
Scripting, hooks, and delivery
You don't need a word-for-word script, but you do need a plan — especially for the open.
- Lead with the payoff. The first two seconds decide whether anyone watches the rest. Open with the claim, the result, or the question — never a "hey guys, so today I wanted to talk about…" warm-up. Say the most interesting thing first.
- Write the hook, bullet the rest. Nail the first line word-for-word, then work from bullet points so you sound natural instead of read-to.
- One idea per video. Short-form rewards a single, complete thought. If you have three ideas, that's three videos.
- Energy slightly up. The camera flattens energy, so bring a little more than feels natural. Talk a touch faster than in conversation.
- Use a teleprompter sparingly. A prompter app can help for dense material, but keep your eyes reading at the lens, and don't let it flatten your delivery into a monotone.
How to record
Recording is the fast part — if you let it be. Don't stop and restart every time you stumble; keep rolling and simply say the line again, because a clean second attempt is trivial to keep and the false start is trivial to cut. Record a beat of silence at the top and tail so the editor has room to breathe. Shoot a little wider than your final crop so you have latitude to reframe. And bank a few takes of the hook specifically — the open is worth getting right, and options help.
How to edit a talking-head video
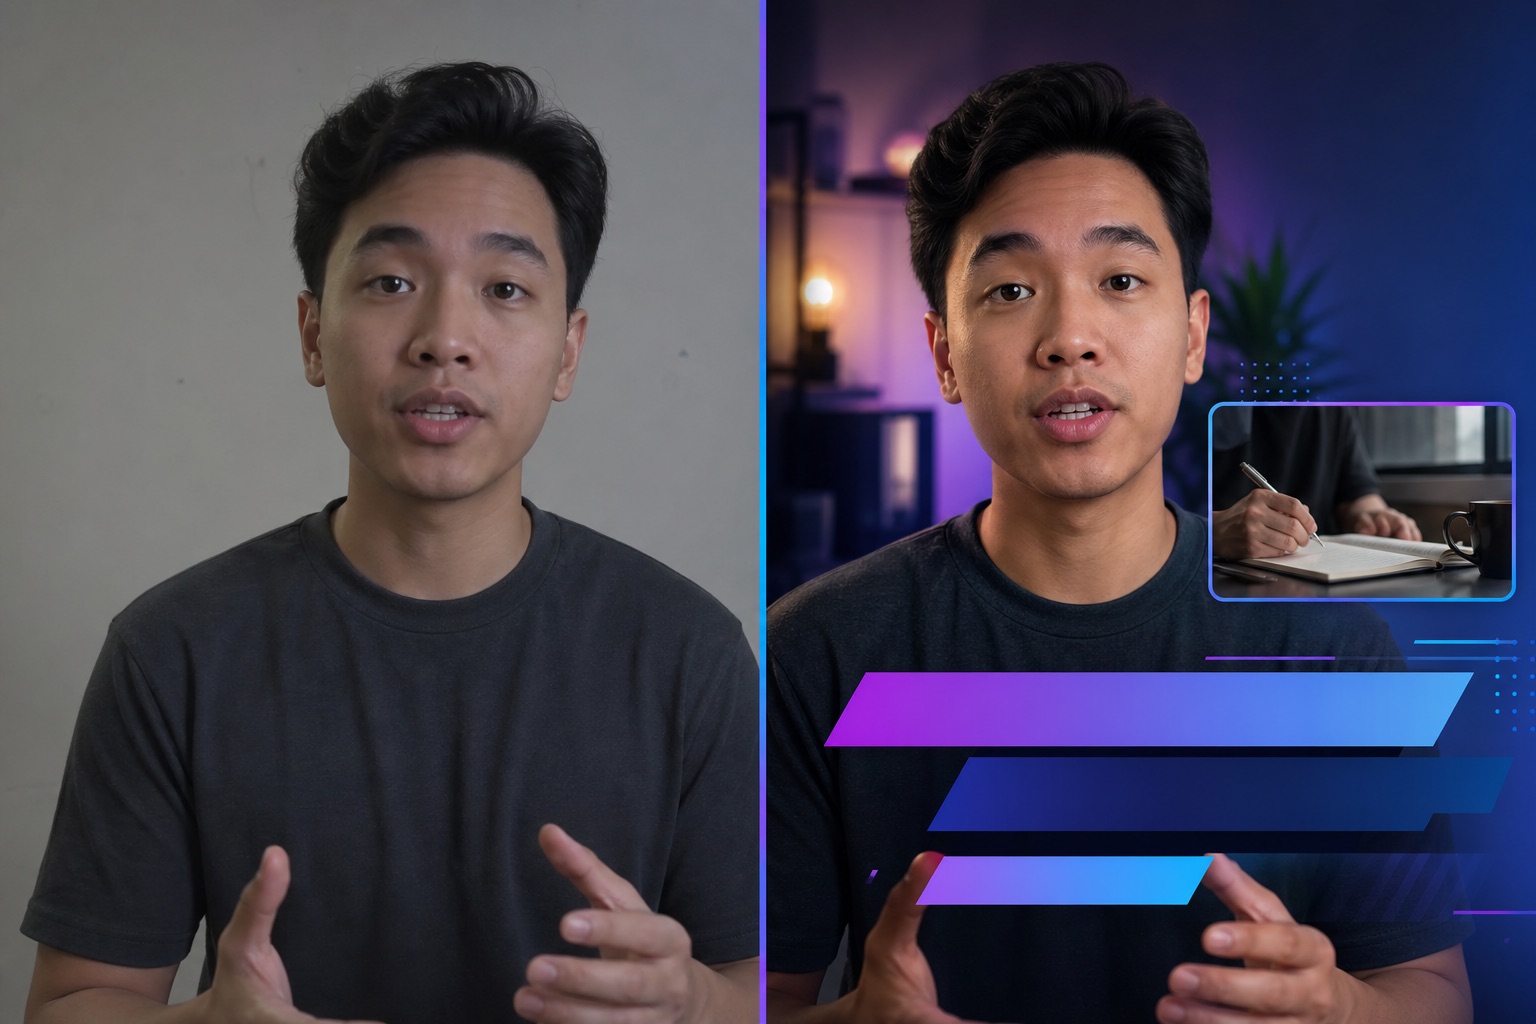
Here is where most talking-head videos die, because this is where the hours hide. A raw take is full of filler words, pauses, and dead air, shot in one flat frame with no captions and no visual movement. Turning it into something people actually watch means running the same sequence every time.

- Cut the fat first. Remove filler words ("um," "like," "you know"), long pauses, and dead air. This one step does more for watch-time than any effect.
- Add captions. Most short-form is watched on mute, so uncaptioned video leaks views by default. Accurate, styled, animated captions are non-negotiable.
- Layer B-roll where it helps. Drop supporting footage or images on the phrases that need illustrating — and nowhere else.
- Add motion and emphasis. A punch-in on the key line, emphasis text on the number that matters, a clean transition between sections. Motion holds attention.
- Lay in music and SFX. A music bed matched to the pace, mixed low enough that your voice stays clear, plus the occasional sound effect for punctuation.
- Tighten the open. Re-watch the first three seconds last. If the hook doesn't land, nothing after it matters.
Done by hand in CapCut or Premiere, that sequence is one to three hours per video. This is the exact work an AI producer automates: you drop in the raw clip and it produces a first draft — cleanup, captions, B-roll, motion, and music — then hands you the controls to change anything in plain language. Real footage in, finished video out. If you've been hunting for an AI video editor that finishes talking-head clips rather than generating fake ones, that's the category.
Captions that keep people watching
Captions aren't just accessibility — they're retention. Keep them large and centered in the lower-middle third, one or two lines at a time, with the current word emphasized so the eye tracks the audio. Match the font to your brand and keep it consistent across every video; recognizable captions are part of how an audience learns to spot your content in the feed.
Using B-roll without hiding your face
B-roll should punctuate, not bury. In a talking-head video the trust comes from seeing you, so cutting away to stock footage for the whole clip defeats the purpose. Use short, relevant cutaways on the specific phrase that benefits from illustration, then come back to your face. Two to four seconds at a time is plenty.
Music and sound design
Music sets the emotional tone and covers small edits. Pick a bed that matches the energy of the message, keep it well under your voice (music should be felt, not heard over you), and use a couple of subtle sound effects — a soft whoosh on a transition, a tick on an on-screen point — for rhythm. Don't overdo it; sound design you notice is usually sound design that's too loud.
DIY vs. freelance editor vs. AI producer
The editing sequence above is the whole ballgame, so the real question is who does it. There are three honest options:
- DIY (CapCut or Premiere). One to three hours per video; free, but it costs your time. Best if you enjoy the craft or need total manual control.
- Freelance editor. About a day of turnaround at roughly $50–70 per video. Best for bespoke, high-budget work — and hard to sustain if you're posting daily, since five a week is $250–350 and you're always waiting on someone else's schedule.
- AI producer. A publish-ready first draft in minutes at a fraction of a freelancer's cost, with changes you direct yourself in plain language. Best for the daily short-form grind, where consistency is the whole strategy.
Publishing: platform by platform
One recording, several homes — but each platform has its own habits.

- TikTok. Vertical 9:16, fast open, captions on, trending audio where it fits. Rewards personality and a strong first line.
- Instagram Reels. Vertical 9:16, polished look, keep text clear of the right-side UI and the bottom caption bar. Cross-posts well from TikTok but strip any competing-platform watermark.
- YouTube Shorts. Vertical 9:16, under 60 seconds, a title that reads as a search result. Shorts get a long discovery tail, so make the topic legible.
- LinkedIn. Square 1:1 or vertical works; lead with the insight, keep it professional, and add a short text post around it. Founder and expert content overperforms here.
- Long-form YouTube. Horizontal 16:9 for standalone videos; a talking-head segment also anchors a longer piece with B-roll and chapters around it.
Turn one recording into a week of content
The highest-leverage move in talking-head video isn't shooting more — it's repurposing what you shot. A single ten-minute recording usually contains three or four standalone ideas. Clip each into its own short, cut a square version for LinkedIn, and pull the two or three sharpest lines as quote-forward micro-clips. If your source is long — a podcast, a webinar, a livestream — use OpusClip to find the moments worth posting, then finish each one with an AI producer. Find the moment, then finish it.
Common talking-head mistakes
- Burying the hook. The first line is a warm-up instead of the payoff. Cut the first five seconds and start on your strongest sentence.
- No captions. The fastest way to leak views in a sound-off feed.
- Backlighting yourself. A bright window behind you turns you into a silhouette. Face the light.
- Bad audio. Echo and hum read as "amateur" faster than any visual issue. Get the mic close and kill the room noise.
- Wall-to-wall B-roll. Hiding your face for the whole clip removes the trust that makes talking-head work.
- Leaving the dead air in. Pauses that feel fine while recording feel endless on playback. Tighten ruthlessly.
- Perfectionism on the shoot. Re-recording to fix small stumbles wastes the hour. Keep rolling; fix it in the edit.
A repeatable weekly workflow
Put it together and the whole thing becomes a system rather than a project. Batch-record several talking-head clips in one sitting while your setup is dialed in and your energy is up. Drop each raw clip into an AI producer to get finished first drafts back in minutes. Spend a few minutes directing the last five percent on each — hook size, a B-roll swap, a caption tweak. Schedule them across the week and platforms. The recording session is the only part that needs your calendar; everything after it is minutes, not hours, which is exactly what makes posting consistently realistic.
Key takeaways
- A talking-head video is one person speaking to camera — the highest-trust, lowest-cost, most repeatable format in short-form.
- Three cheap upgrades matter most: a close mic, front lighting, and a steady, eye-level frame.
- Lead with the hook; the first two seconds decide whether the rest gets watched.
- Editing is the real bottleneck — cleanup, captions, B-roll, motion, and music — and it's the part an AI producer automates in minutes.
- Repurpose every recording into multiple posts and platforms; use OpusClip to find moments in long videos, then finish each with an AI producer.
- Consistency beats any single video, and consistency only happens when finishing a clip takes minutes instead of hours.
Make your next talking-head video publish-ready
Record the clip; let the AI do the edit. See how AI Producer by OpusClip turns a raw talking-head recording into a finished, captioned video — real footage in, finished video out, no avatars. New to the category? Start with what an AI producer is, or read why we edit your real footage instead of generating an avatar.